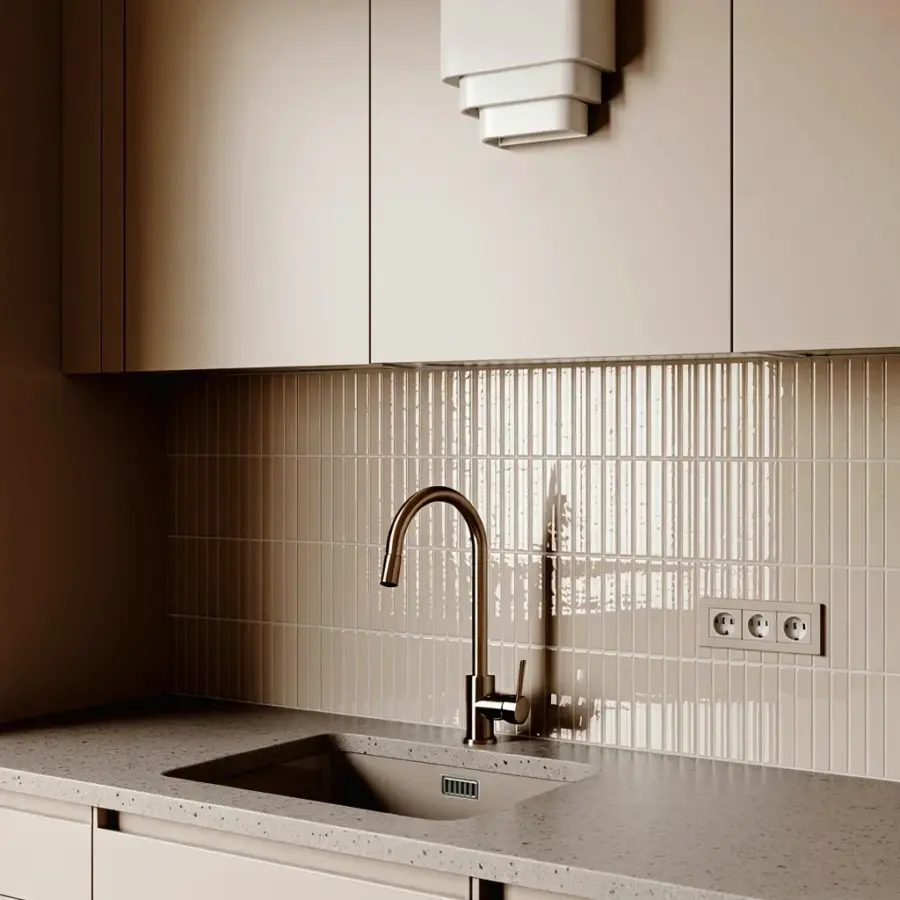
Honestly, I never thought I’d be the person who gets starry-eyed over a bathroom. But here I am, staring at our subway tile bathroom makeover and feeling a ridiculous amount of joy every time I walk in. It went from builder-grade blah to something that actually feels intentional, like a real room instead of a sad afterthought. And the best part? You can totally copy this look without selling a kidney. Let me show you how, with all the messy details and weird tangents included.
Why subway tile works for any season (and why dark grout is genius)
Look, subway tile is not new. It’s been around forever. But there’s a reason it keeps coming back: it just works. Clean lines, easy to clean, timeless enough that you won’t hate it next year. But the real game-changer here was the grout. We went with a charcoal gray instead of white. Not gonna lie, I was nervous. White grout shows every speck of dust and hair and existential dread. Dark grout? It hides everything. Our cat walked through leftover grout dust and left tiny paw prints. I wiped them up, no stain. Plus the contrast makes the tiles pop, especially when the morning light hits them.
Seasonally, this is a spring move for sure. Something about fresh white tile and dark lines feels like shaking off winter. But honestly, I’d do this in autumn too. Any season where you need a morale boost. Anyway.
Our before: builder-grade blah (the ugly truth)
So the before. Picture this: 4×4 inch off-white tiles that were never level. A builder-grade vanity with a fake wood veneer that was peeling off at the bottom edge. Brass fixtures from 2005 that had that weird cloudy finish. The shower curtain rod was crooked. You know the drill. It wasn’t actively ugly, just deeply boring. Like a waiting room. Every time I showered I felt a tiny pang of “someone please add personality.”
The worst part? The original tile grout was beige. Beige grout on beige tile. It looked like a single flat wall of sadness. You couldn’t tell where tile ended and grout started. It was just … blah. So when I say we needed a bathroom makeover before and after transformation, I mean it desperately. We lived with it for two years, putting off the project because renovation sounds scary. But then I realized: the only way to fix a boring bathroom is to stop staring at it and start demoing.
The big swap: from outdated square to classic subway
Demo day was a hot mess. Honestly, I’d recommend renting a construction dumpster unless you enjoy making 47 trips to the hardware store. We pried off those 4×4 squares one by one, and let me tell you, whoever installed them used enough mortar to build a small foundation. Our arms hurt for a week. But once the old tiles were gone, we prepped the wall with cement board (not green drywall, don’t skimp). Then the fun part: laying the subway tile in a brick pattern. We went straight lay, not herringbone, because I wanted a calm vibe not a headache.
One weird aside: I accidentally ordered one extra box of tile and stored it in the garage. Our cat discovered the box and decided it was the perfect place to nap. I found her curled up in it, covered in dust. The tile people probably wouldn’t approve of the cat-hair-infused storage, but the tiles were fine. Moral of the story: buy extra tile, and keep it away from cats.
We chose 3×6 inch white subway tiles, the classic size. The dark grout made each tile stand out, like a little frame around every piece. That effect alone changed the whole room. It went from flat to dimensional, all because of a color choice. Crazy what a difference.
Choosing matte black fixtures (and a vanity that doesn’t scream 2005)
Once the tile was in, the rest of the room needed to match that fresh energy. We swapped the old chrome faucet for a matte black one. Also swapped the showerhead, the towel bar, even the light switch covers. You might think that’s overkill, but honestly, those little details tie the whole bathroom tiles look together. Matte black doesn’t show water spots as badly as chrome, which is a win in my book. It also feels more grounded, less shiny-shiny.
The vanity was a bigger decision. We could have bought a pre-made one from the big box store, but I wanted something that didn’t look like every other bathroom on Instagram. So we found a dark wood vanity with a natural stone countertop. It’s a bit more expensive, but it adds warmth against the cold white subway tile. The old vanity was beige with a laminate top that had a burn mark from someone’s curling iron. Not cute. The new one has a vessel sink and a brushed gold towel ring (mixing metals a little, sue me).
- Matte black faucet: go with a single-hole, easier to clean
- Dark wood vanity: pick one with soft-close drawers, your sanity will thank you
- Vessel sink: looks great but requires daily wipe-downs, just a heads up
- Mirror: we went with a round black-framed one, breaks up all the rectangles
One thing I learned the hard way: measure twice. I measured the vanity space, ordered it, but forgot to account for the baseboard. We had to trim the baseboard down with a multitool. That’s real life, not a Pinterest dream. But it worked out fine, just added a few hours to the timeline.
Budget breakdown and timeline (no, you don’t need a pro)
Ok so here’s the part everyone wants to know: what did this cost? And can a normal person actually do it? Look, we did this as a DIY renovation, and I am not a contractor. I’m a person who watches YouTube tutorials at 2 a.m. Total cost came in around $950. That’s tile ($280), grout and adhesive ($60), new vanity ($320), matte black faucet and showerhead ($110), paint for the walls ($40), and misc supplies like trowel, spacers, and a wet saw rental ($140). We already owned a drill and a level, so that helped.
Timeline: it took us two weekends. First weekend: demo and prep. Second weekend: tiling, grouting, and installing the vanity. The fixtures went in during the evenings after work. Was it hard? Yes. There’s a reason professionals charge thousands. But you can do it, just be prepared to mess up the first few tiles. I definitely set three tiles crooked and had to pry them off. Not gonna lie, I cried a little. But once you get into a rhythm, it’s almost meditative. Almost.
Also, a hyper-specific detail that no AI would think to include: I spent entirely too long picking out a faucet online. Three hours. I clicked between two different matte black models at least 40 times. My husband finally said “just pick one, they look the same.” He was right, but one had a slightly taller spout that I thought would look better with the vessel sink. It did. Victory.
Before and after: the grout difference you can’t ignore
As I mentioned, grout color is the unsung hero. With white subway tile and dark gray grout, the lines become a feature, not a cleaning chore. The before had beige grout and beige tiles, so the whole room blurred into a bland wall. Now the pattern is crisp and intentional. Every time I walk in, I notice the horizontal lines. It’s like the room has bones now.
We chose a sanded grout because the gaps were 1/8 inch. If you have bigger gaps, use unsanded? I don’t know, check the label. But I can tell you that dark grout on white tile makes the wall look bigger. The contrast draws your eye along the lines, making the narrow bathroom feel wider. And it hides soap scum. I’m not joking, the dark color disguises a lot of sins. Of course you still need to clean, but the window between “looks dirty” and “actually dirty” is way longer. That’s a win in my book, especially if you have a family that splashes everywhere.
How to copy this look without losing your mind
If you want to get this bathroom makeover before and after vibe for yourself, here’s a quick checklist. Follow it loosely, don’t stress about perfection.
First, pick your tile and grout combo. Go to a tile store, not a big box, because the salespeople actually know their stuff. I spent 45 minutes chatting with a guy about grout colors. He showed me a charcoal that looked almost black. I went with that. Also get a sponge grout float, it makes smoothing way easier. Second, prep like crazy. Remove everything from the room, protect the toilet (or remove it), and tape off edges. I skipped the tape on one corner and ended up with gray grout smeared on the wall paint. Had to repaint that section. Lesson learned.
Third, be patient with the tiling. We used spacers and a level, and still some tiles shifted overnight. You can fix them if you catch it within a few hours. Let the mortar dry fully before grouting. I’m talking 24 hours. I know you’re excited, but don’t rush. Fourth, pick your fixtures and vanity beforehand, not after. Because the hole spacing for faucets matters, and you don’t want to discover your vanity is too shallow for the faucet neck. Ask me how I know. (I had to return the first faucet because it was too tall, no space behind the vessel sink.)
And finally, don’t forget the lighting. We swapped the boob light dome thing for a sleek matte black flush mount. It changed the whole mood. Lighting is the unsung hero, honestly. More important than the tile in some ways.
So that’s the story. We took a sad little builder-grade bathroom and turned it into something that makes me happy every single day. The dark grout and subway tile combo is not revolutionary, but it works. And you can totally do this yourself. Save this post for later, because when you finally decide to renovate, you’ll want a roadmap. Or just come back and read it again while you’re procrastinating on paint colors. Either way, now you know exactly what to do.
#subwaytile #bathroommakeover #beforeandafter #diyrenovation #bathroomtiles
Leave a Comment