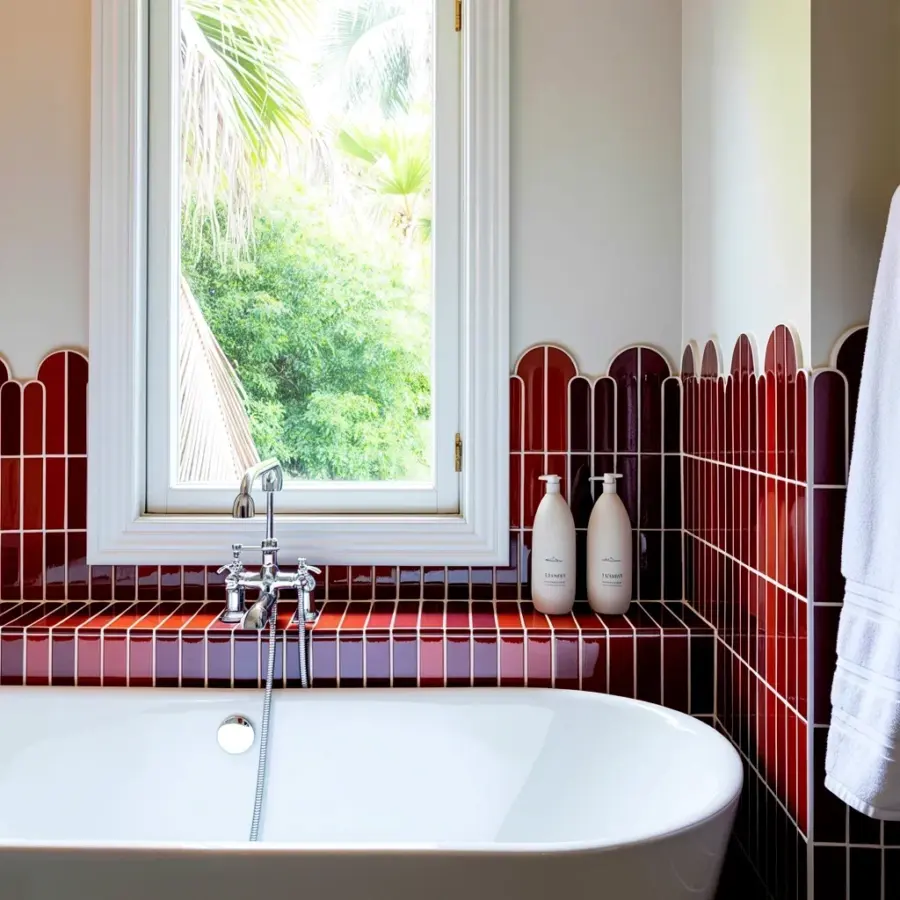
So you have a tiny bathroom that feels more like a closet than a spa, and you have maybe four hundred bucks to change it. That’s fine. You don’t need marble slabs or a designer with a mood board. You need tile, grout, and a plan. The classic subway tile bathroom is the ultimate budget hack because it looks expensive while actually costing pennies per square foot. And the layout we’re about to walk through, it even has a fancy name.
We’re stealing a bit of Parisian inspiration (the Panthéon, if you want to be specific) but making it completely practical for a weekend warrior. This is a beginner-friendly guide, so we’re starting with zero assumptions. Look, I know you have never tiled before. I didn’t know what a trowel notch was until a few years ago. You’ll be fine.
Why White Subway Tile is the Budget Bathroom Winner
Let me put this bluntly: white subway tile is cheap because it’s everywhere, and it’s everywhere because it’s timeless. A single box of 12×3-inch glazed ceramic tiles costs less than a couple of pizzas. You can cover an entire small bathroom wall for the price of a bad night out.
Forget the expensive handmade lookalikes. The standard big-box store version is honestly perfect for this project. It has a slight gloss, it resists water, and it wipes clean with a sponge. What more do you want? Since it’s so common, you can also buy exactly what you need without worrying about shortages or matching dye lots three months from now.
The real magic comes from the layout. You don’t need fancy shapes to look expensive.
Dark Grout is the Trick That Hides the Cheap Part
Here’s the thing about white tile: it looks basic until you make the grid pop. Instead of using a white or light gray grout, choose a charcoal or dark slate grout. This single choice changes the entire personality of the room. It emphasizes the individual tiles and makes the wall look like a custom handmade installation, not just a flat, sterile surface.
This is also a massive practical win. Dark grout does not show dirt, soap scum, or the occasional splash of coffee you somehow manage to get on the wall. I have a chaotic household, so this is a big selling point for me. When your grout lines are dark, you can scrub less frequently and still have the room look tidy.
A standard dark gray or even black grout works universally. Just mix it according to the bag instructions. Don’t be lazy and try to eyeball the water ratio. It matters.
A Matching Hex Floor Keeps the Space Feeling Cohesive
You might think you need a different fancy floor, but a simple white hexagon mosaic tile keeps things calm and cohesive. We used a 2-inch hex sheet on the floor, which creates a beautiful, textured contrast against the long subway rectangles on the wall. It’s subtle, but your eye will notice the difference in scale.
Ok so, the math here is easy: buying two different types of white tile is still cheaper than buying one type of expensive, designer tile. Both styles are readily available at Home Depot or Lowes. You don’t need a special order for a “minimum square feet” box that you’ll never finish.
Don’t forget to buy mesh-backed sheets for the hex tile. They come pre-assembled on a grid, so you can slap down a huge section at once. This makes the floor dramatically easier to install, even if you’re in an awkward shape or have to cut weird angles around the toilet flange.
Tools You Actually Need for a Weekend DIY (and What to Skip)
You do not need a wet saw. I’m telling you this because I was terrified of renting one, and it was holding me back from ever trying. For a small job, you can get away with a manual snap tile cutter for straight cuts. It’s a scored line, a gentle press, and the tile snaps clean. It costs about twenty five bucks.
Here’s a quick list of the essentials so you don’t wander the aisles blindly:
– A notched trowel (buy the size recommended for your specific tile)
– Tile spacers (1/8 inch is perfect for that classic look)
– A rubber grout float
– A sponge and a bucket of clean water
– A manual snap tile cutter (rent or borrow a wet saw for big cuts if you’re fancy)
Skip the expensive “tile leveling system” clips. For a tiny bathroom wall, gravity is on your side. The mesh-backed sheets for the floor keep everything flat enough. Just press the tiles in firmly and let the thinset do its job.
How to Measure and Plan Your Tile Layout (Without Losing Your Mind)
Measure the height and width of your wall or shower area to get the square footage. To calculate square footage, just multiply the length by the width. Then, add 10% to that number for waste and cutting errors. If you are clumsy or have a weird corner, make it 15%. It’s better to have ten extra tiles in your garage than to be one tile short on a Sunday evening when the store is closed.
For the wall, start your first course one tile height from the floor to make sure your lines are perfectly level. Do not trust your floor to be level. Trust your level. If your ceiling or floor slopes, you trim the bottom row to fit instead of shifting every single tile above it and making the problem worse.
Plan your center line. Dry-lay a row on the floor to see how the pattern falls. You want the cut pieces at the corners to be equal on both sides if possible. If you end up with a tiny sliver of a sliver on one side, just shift the whole layout over half a tile. This is the step that separates a good job from a weird one.
Quick Money-Saving Moves That Don’t Look Cheap
You can save money with a few simple choices that don’t affect the look at all. First, always buy your tile in stock and return the unused boxes. The stores don’t put leftover stock back on the shelf easily, but the big chains have a generous return policy. Keep your receipt, don’t open boxes you aren’t totally sure you need until you’re halfway through the project.
Second, handle the demolition and prep yourself. It’s dirty, sweaty work, but you save hundreds of dollars just by doing the unglamorous part. Tearing out old fixtures or loose drywall is unskilled labor. You got this.
Third, skip the expensive brand-name thinset. The store brand works fine for a bathroom wall. The only thing you should splurge on is good grout, specifically a modified, polymer-based product. It’s easier to work with and flexes a little, which prevents cracking. Actually, I kept my grout bag in a bowl of warm water for ten minutes before mixing, which allegedly makes the grout easier to install. I have no scientific proof.
Anyway, do the labor yourself and keep the total project under a few hundred bucks. That leaves you a little budget for a new faucet or a nice mirror. Hang a cheap wooden shelf up there instead of a medicine cabinet.
Subway Tile Bathroom Weekend Game Plan
Look, you could pay a contractor to do this and it would cost you two grand. But if you follow these steps, you can seriously get this done in two full days with a friend. Dedicate day one to prep, measuring, and setting the wall tile. Dedicate day two to grouting, cleaning, and setting the floor.
Go for it. A small space handles bold style really well. There’s nowhere for your mistakes to hide in a 5×8 room, but that also means all your progress is highly visible too. It’s incredibly satisfying to walk by the open door and see a clean, crisp wall you did yourself.
What’s your layout? Are you using the classic subway grid, or are you thinking about a vertical brick pattern instead? If you tried this, drop a comment below and tell me how it went. I’m curious to hear which part surprised you the most.
Leave a Comment