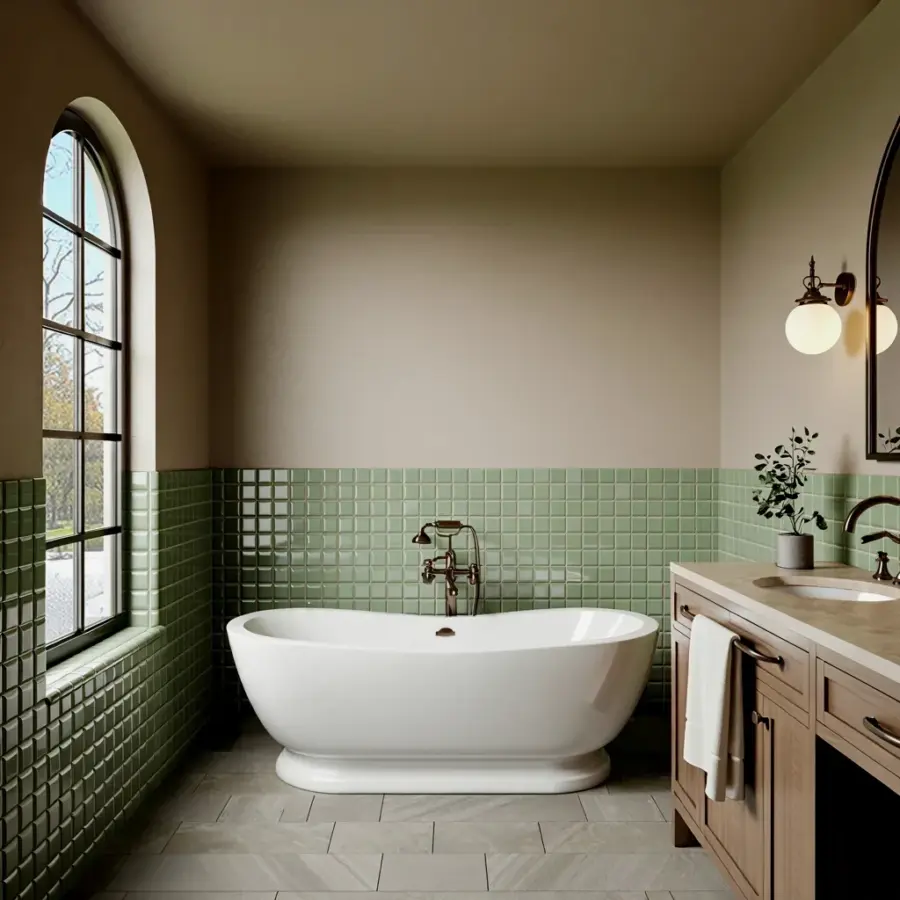
I learned the hard way that painting bathroom tiles on a budget can either save you hundreds or cost you a weekend and a lot of frustration. My first attempt peeled within a month because I skipped the one step that actually holds everything together: bonding primer. Look, I get it. You want to get to the fun color part, not mess around with sticky white liquids and drying times. But if you skip primer, you might as well toss your paint money into the drain.
Why bonding primer is non-negotiable for painting bathroom tiles
Tiles are slick. They are basically glass that someone baked into a rectangle, and paint hates sticking to slick surfaces. Regular primer won’t cut it either, because most wall primers are formulated to soak into drywall or wood, not to grab onto glazed ceramic. You need a product that’s specifically designed for glossy, non-porous surfaces. That’s your bonding primer.
Here’s the thing: without it, your fresh paint will lift off in sheets the first time steam fills the room. I’m not being dramatic. My own bathroom looked fantastic for about three weeks, and then I noticed tiny bubbles near the shower edge. Within days, chunks of paint were curling off like sunburned skin. Annoying, ugly, and entirely preventable.
So what does bonding primer actually do? It gives the tile a roughened grip, a layer of something with tooth, so your color coat has something to sink into. Think of it as double-sided tape for paint. One can of bonding primer costs around the same as a couple of lattes, and it can be the difference between a makeover that lasts years and one that needs a full redo in June.
How to clean tiles before painting: the step everyone rushes
Even with the best bonding primer, if your tile has soap scum, hard water stains, or a suspicious greasy film, the paint will not hold. You have to wash the tiles like you’re preparing for surgery, not like you’re swiping a sponge around to look busy. Honestly, most bathroom tile painting failures are really cleaning failures in disguise.
I use a degreaser first, warm water and a stiff scrub brush second, and then I rinse with plain water. For the grout lines, take an old toothbrush and get in there. It’s tedious, but it’s also the kind of thing that separates a professional-looking result from a mess that starts chipping at the edges. If your bathroom has been exposed to humidity and mold, treat the mold spots with a bleach solution and let them dry completely before anything else.
Here’s a quick list of what I keep in my tile prep kit:
- An all-purpose degreaser (kitchen spray works fine)
- A stiff nylon brush for the tile face
- An old toothbrush for grout lines and corners
- A bucket of warm, clean water for rinsing
- Latex gloves, because bathroom grime is not something you want in your nails
- A lint-free cloth to dry everything before priming
Dry tiles are non-negotiable. Primer over damp tile is like trying to paint a rain puddle; it might look fine for an hour, but it’ll fail later. Give the surface a solid hour to air out, then touch the tile with the back of your hand. It should feel desert dry, not basement dry.
The exact prep routine I use before priming
Ok so let me walk you through what I do now, after my first disaster and a second attempt that actually worked. First, I remove everything from the bathroom, including the toothbrush cup, the soap dish, the weird little decorative rocks someone left on the windowsill, all of it. Next, I open the window or turn on the exhaust fan to keep air moving, because you do not want to breathe in primer fumes while you’re bent over a tub that’s barely big enough to turn around in.
Then I tape off the edges: around the mirror, the bottom of the wall, the corners near the sink, the door frame, wherever tile meets something that should stay unpainted. Use painter’s tape, the decent kind, not the dollar store tape that lifts paint off drywall and leaves sticky residue. I also lay down a plastic drop cloth because primer drips are inevitable and they are a pain to scrub off a bathtub floor.
Here’s a slightly weird personal detail: I wear my reading glasses even though I don’t need them for anything else, because squinting at those tape lines for forty minutes gives me a headache. It helps me see the little gaps along the edges where the primer could sneak through. Also, I vacuum the floor twice before doing anything. I have a thing about dust. It lands on the wet primer within seconds and you’ll see every speck after it dries.
How to apply bonding primer to tiles without leaving brush marks
Use a small foam roller for the flat areas and a brush only for the corners and edges. That’s the secret. A regular bristle brush will leave streaks in the primer, and those streaks will show up through your paint, no matter how many coats you add. A foam roller gives you a smooth, even layer that looks like factory finish instead of a kindergarten craft project.
Dip your roller lightly, don’t soak it, and roll it on in thin passes. Thin is the keyword here. If you try to spread a thick glob of primer across tile, it’ll pool in the corners and dry with weird wavy ridges. I also recommend back-rolling, which means going over a section once in one direction and then once again without adding more primer, just to smooth things out.
Work in sections of about two feet by two feet. That way, the primer stays wet enough to blend into the next section without obvious overlap lines. For the grout lines, don’t go overboard. The primer will naturally fill them a little, and that’s fine. You’re not trying to coat the grout honestly; you’re trying to cover the negative space enough to help the paint seal over against future mold and mildew.
The drying trap that ruins DIY bathroom tile paint jobs
Primer looks dry after about twenty minutes, and that’s the lie that ends up ruining projects. I waited maybe thirty minutes on my first attempt and painted right over it. The paint goes on fine, the room looks great, and then a week later, the whole thing delaminates from the tile. The primer needs to cure, not just dry to the touch, before you add color.
Check the label on your specific bonding primer, because every brand is different. Some want four hours, some want a full 24 hours. The one I use says topcoat within 3.5 hours or after 24 hours, which is one of the strangest timing windows I’ve ever seen, but I follow it. That means I paint early in the morning, and then I stay out of that bathroom for the rest of the day.
Not gonna lie, this is the part that tests your patience. You’ve cleaned the whole bathroom, you’ve taped everything, you’ve worn the gloves, you’ve made the tile look like a futuristic white slab, and now you have to wait. Go watch a movie. Water your plants. Do literally anything else that isn’t poking the primer with a fingernail to see if it’s ready.
Painting and sealing: the last steps that matter just as much
Once the primer is fully cured, apply your paint in the same thin, even coats. Two coats is usually enough, but if your tile is a bold color that you’re trying to cover, give it three. Use the same foam roller for the paint as you did for the primer, but remember to switch to a clean one if the old roller has dried primer bits stuck to it, because those bits will transfer right onto your tile.
After the paint dries completely, you need a clear polyurethane sealer made for bathroom surfaces. This is another step people skip, and then they wonder why their bathroom tile paint gets cloudy around the shower area. The sealer locks the paint under a protective layer so moisture can’t creep in. It’s not optional if you actually use your shower on a daily basis.
Apply two thin coats of sealer with another clean foam roller, and again, wait the full drying time between coats and before you hang up your wet towels. I know, I know, more waiting. But a bathroom that already has paint peeling on the ceiling because the previous owner didn’t seal anything teaches you to be patient. I’m speaking from experience here. My ceiling looks like a hand of cards that’s slowly collapsing.
Then comes the final unlock: don’t use the shower for at least 48 hours after the last coat. Yes, the paint might be dry to the touch, but it’s still settling into a film that needs time to harden. Steam is the enemy of fresh paint. Steam is the reason your paint peeled in the first place. So run a hot bath in the other bathroom, or just use a washcloth for weirdly long time. Just give the room a break.
If you take anything from this, let it be that bathroom tile painting is less about the paint and more about the prep and the patience. Cleaning, priming, curing, sealing, waiting. Every one of those steps is doing you a favor in a room that never really dries out. Do it right, and your budget bathroom makeover will honestly look like a much bigger remodel.
Now go pick your paint color. But before you touch that roller, buy the bonding primer first. You’ll thank me later, when your tiles still look great after months of showers. Save this post for your next DIY weekend, and maybe share it with that friend who still thinks primer is an optional extra. 😅
#tilepainting #bathroomtiles #diybathroom #budgetbathroommakeover #bathroomremodel
Leave a Comment