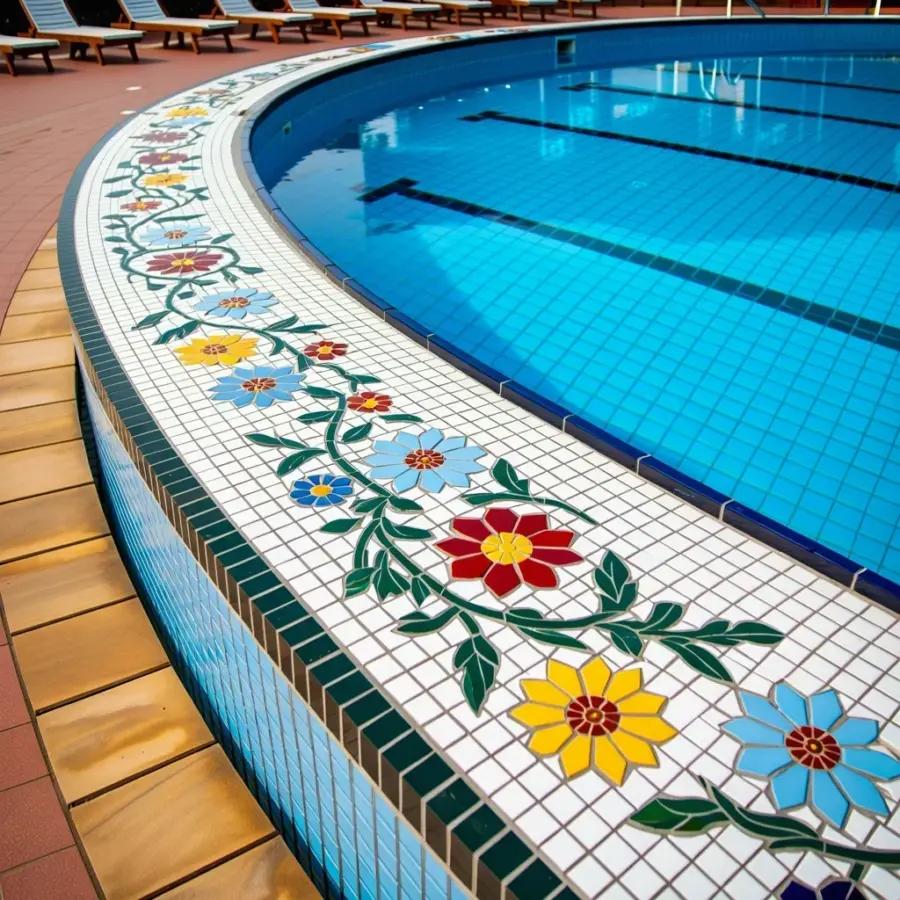
Honestly, I’ve been there. Standing in the tile aisle at the big-box store, staring at prices that make your stomach drop. You want a fresh look around your sink or tub, but your wallet says no way. That is exactly when budget bathroom mosaic backsplash ideas become your best friend. Not gonna lie, the first time I tried this, I almost gave up. But then I found ceramic mosaics. Cheap, waterproof, and they come in colors that actually make you smile. Here’s what I learned: you don’t need to spend a fortune to get a bathroom that feels special. You just need the right tile and a little patience. Really.
How to Choose Affordable Bathroom Tiles That Still Look Expensive
Look, not all cheap tiles are created equal. Some of them look like they belong in a gas station bathroom. But there are specific ceramic and porcelain options that fool the eye. Here’s the thing: small mosaic sheets (usually 12×12 inches) hide imperfections well and make a tiny space feel bigger. And because they come pre-mounted on mesh, they are easier to install than individual subway tiles. I once grabbed a pack of white and gray hexagon mosaics for under twenty bucks a sheet at a discount tile outlet. They looked like a million bucks. Well, maybe a thousand. But still.
When you shop, look for tiles with a matte finish or a slight texture. Glossy cheap tiles sometimes show every fingerprint and water spot. Matte hides the grime better. Also, stick with neutral bases like cream, gray, or soft beige. Then add a pop of color in a small accent band. That trick keeps your bathroom from looking like a kindergarten art project.
Mosaic Backsplash Ideas for Small Bathrooms on a Tight Budget
Small bathrooms are actually perfect for mosaics. Why? Because you need less tile. One or two sheets can cover the area behind a pedestal sink. I did my half-bath backsplash with a single sheet of penny rounds. Total cost: fourteen dollars. The rest was just grout and a weekend afternoon. Not kidding.
Another idea: use a thin strip of mosaic tile as a border for a larger, cheaper field tile. For example, install basic white subway tile (dirt cheap, like two dollars per square foot) and then run a two-inch-wide band of glass mosaic down the center. The contrast makes the whole thing look custom. And you only need one or two sheets of the expensive stuff. Budget bathroom mosaic backsplash ideas are all about mixing high and low. That kind of tension creates visual interest without spending a lot.
Best Materials for a Budget Mosaic Backsplash (Ceramic, Porcelain, or Glass?)
I have strong opinions here. Ceramic is my go-to for budget work. It’s cheap, durable, and easy to cut with a manual snap cutter. Glass looks amazing but costs more and scratches easier. Porcelain is tougher but heavier and harder to cut. So for a diy bathroom project on a budget, stick with ceramic mosaics. They are waterproof enough for splashes around sinks and tubs. Just seal the grout well. I learned that the hard way after a mold issue. Gross.
- Ceramic: best bang for your buck, easy to cut, huge color variety
- Glass: pretty but expensive and finicky to cut without chipping
- Porcelain: very durable but heavy, often requires a wet saw
- Stone lookalikes: ceramic tiles printed to look like marble or slate, often under $5 per sheet
One weird thing I discovered: the cheap ceramic mosaics at my local hardware store had a slightly orange peel texture. Not ideal for modern looks. But if you paint the grout a darker shade (charcoal instead of white), that texture almost disappears. So don’t panic if the tile isn’t perfectly smooth. Grout does a lot of heavy lifting.
DIY Bathroom Backsplash Installation Tips That Save Real Money
Ok so, you can save a ton by doing it yourself. But there are pitfalls. I once wasted a whole sheet of mosaic because I forgot to back-butter the mesh. (Back-buttering means spreading thin-set on the back of the mesh sheet, not just on the wall. It helps with adhesion.) Here’s my honest tip: buy a bag of good quality thin-set mortar. Don’t go with the cheapest pre-mixed stuff in a bucket. That stuff shrinks and cracks. A bag of powder costs about fifteen dollars and will last you multiple projects.
Also, get a grout float and a sponge. Not the expensive sponge, just the cheap yellow one from the hardware store. You don’t need fancy tools. I used a trowel left over from a previous flooring job. Worked fine. The only tool I recommend spending on is a manual snap cutter if you need to cut individual pieces. But for mosaics on mesh, you can often just use a pair of tile nippers for the tricky corners. Save the rental saw money for lunch.
And here’s a random personal aside: I hate cleaning grout haze. Hate it. So I now use an epoxy grout product (a bit pricier but no sealing needed, and it cleans up like a dream). Worth every extra penny if you’re lazy like me.
Timeless Design Patterns That Won’t Look Dated in Five Years
Trends come and go fast. Remember those aqua glass mosaics from 2015? They looked like swimming pools. Very specific. Now they scream “dated renovation.” To keep your bathroom feeling fresh for a decade, go with patterns that have been around for centuries. Herringbone, hexagon, penny round, and basketweave. These patterns work with any era. I personally love a simple offset grid of 2×2 squares. It’s boring, maybe. But boring lasts.
One way to add personality without committing to a loud pattern: use a single accent row. Imagine a normal backsplash of cream subway tile. Then halfway up, swap one row for a strip of tiny blue glass mosaics. That one row catches your eye without dominating the whole room. And if you get sick of it later, you can paint that strip or cover it with a shelf. Oh, and leave a gap for a soap dispenser. Trust me.
Where to Buy Cheap Mosaic Tiles Without Sacrificing Quality
Not all deals are online. In fact, my favorite source is the clearance section at local tile shops. They often have leftover boxes of mosaics for half price. I once bought a whole bathroom’s worth of gray hexagonal mosaics for sixty bucks because the shop was discontinuing that color. The color was slightly warmer than their online photo, but I worked with it. That’s the trade-off: you save money but lose control over exact shade.
Online, check sites like TileBar, Floor and Decor, and even Amazon. But read reviews carefully. Some cheap mosaics arrive with chips or uneven mesh. I always order one sheet first to see the quality before buying a case. That saved me from a disaster last year. Also, look for “clearance” or “discontinued” filters. The same tile from last season works just as well. Nobody knows when it’s out of style except the manufacturer.
Another weird tip: use leftover vinyl peel-and-stick floor tiles as a temporary backsplash if you are renting. They are not waterproof long-term, but for a college apartment or a guest bathroom, they hold up for a couple years. I did that once. Looked surprisingly good. Just don’t tell my landlord.
Easy Maintenance for Your New Bathroom Tiles
You did the work. Now keep it looking good. Mosaic bathroom tiles are low-maintenance, but grout lines need love. Wipe down the backsplash with a squeegee after every shower (that’s a tiny daily habit that prevents soap scum buildup). Once a month, spray with a mixture of equal parts white vinegar and water. Let it sit for five minutes, then scrub with a soft brush. Rinse well. Done.
One thing I wish someone told me: never use bleach on colored grout. It strips the color and leaves blotchy patches. Ask me how I know. I ended up regrouting one entire wall because I was too aggressive with bleach. Learn from my stupidity. Instead, use oxygen-based cleaner like OxiClean. Safe for everything. Also, if you notice a small crack in the grout, fix it immediately. Moisture will sneak behind the tile and cause bigger problems. A little tube of grout caulk costs under ten bucks. Do it.
So there you have it. Budget bathroom mosaic backsplash ideas are real and they work. You can get a custom-looking finish for under a hundred dollars if you choose the right materials and do the labor yourself. That’s the whole point of timeless design: it doesn’t have to be expensive, just thoughtful. Next time you see a fancy tile you can’t afford, don’t get discouraged. Go find the cheap version. It’s out there, probably in a clearance bin. And honestly? It might look even better. Got a favorite budget tile story or a question about installation? Drop a comment below or pin this to your diy bathroom board. Happy tiling.
#bathroomtiles #mosaicbacksplash #budgetbathroom #timelessdesign #diybathroom
Leave a Comment