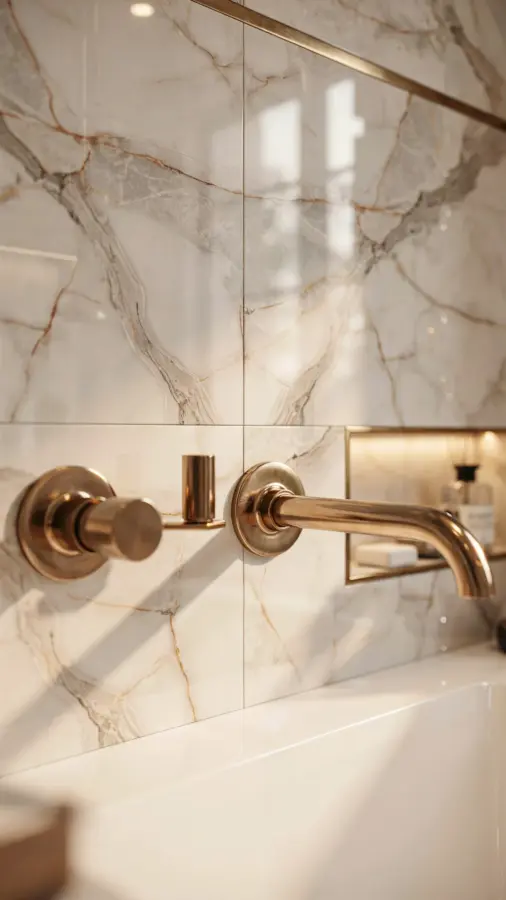
If you have been scrolling through Pinterest looking for 1920s bathroom tile ideas, you probably already know the pull of that Gatsby era glamour. Think geometric floor patterns, shiny black and white contrasts, and touches of gold that feel both luxurious and bold. I recently helped a friend renovate her tiny guest bathroom with an Art Deco vibe, and I learned that a little planning goes a long way. This is not just about picking pretty tiles; it is about recreating a specific, glamorous mood from a hundred years ago. Let me walk you through the concrete steps so you can do it too, without the headache.
Step 1: Choose Your Color Palette Like a Deco Designer
Before you buy a single tile, nail down your color scheme. Classic Art Deco bathrooms rely on strong contrasts. Think glossy white subway tiles paired with deep navy or charcoal black. Or go for a warmer look with cream and rich emerald green.
Here is a simple rule: pick two main colors and one metallic accent. Gold or brass is the most period accurate, but polished nickel works too. Avoid pale pastels if you want authentic 1920s energy. Those were more 1930s. Stick to saturated, dramatic tones. For a small space, use the darker color on the lower half of the wall or in the shower niche, and keep the rest light to avoid a cave effect.
Step 2: Select the Right Tile Shapes for Authentic Art Deco Pattern
Subway tiles are fine, but they alone will not scream Art Deco. You need shapes that create rhythm and geometry. I am partial to hexagon tiles for the floor, especially small ones (one inch or two inch) in black and white. They instantly read vintage.
For the shower wall, consider a classic running bond subway layout or a herringbone pattern. But to really nail the look, add a decorative band. Use a row of square tiles in a contrasting color, or small triangular tiles that form a chevron line. If you want maximum drama, look for tiles shaped like octagons with small squares connecting them. That pattern is pure 1920s magic.
Step 3: Add Metallic Accents That Feel Original, Not Faux
One mistake I see people make is using shiny gold plastic fixtures. Real Art Deco glamour comes from solid materials. Invest in a good brass shower head or faucet. Even a chrome fixture with a satin finish reads better than cheap gold plate.
But you do not have to replace everything. You can add metallic accents through a mirror frame, a towel bar, or even a small shelf with brass corners. Here are a few practical ways to bring in the shine without breaking the bank:
- Swap your standard shower curtain rings for brass or nickel ones.
- Install a single decorative strip of metallic glass mosaic tiles at eye level in the shower.
- Use a vintage style medicine cabinet with a metal frame instead of a wood one.
Step 4: Design Your Shower Floor for Safety and Style
A 1920s inspired shower floor needs to be both gorgeous and practical. Hexagon tiles are perfect because they offer good grip and fit the era. I recommend using small tiles with a lot of grout lines. The grout provides traction, which is essential for a shower floor.
For a walk in shower, use a curbless entry if you can, but keep the floor pattern continuous from the bathroom floor into the shower. This creates a seamless flow that feels expansive. Use black grout with white hex tiles for a crisp, graphic look. Or try charcoal grout with gray marble hex tiles for a softer, more luxurious feel.
Step 5: Pick Lighting That Mimics 1920s Glamour
Lighting makes or breaks the vintage mood. Avoid harsh recessed cans everywhere. Instead, use a wall sconce on either side of the mirror, or a small crystal pendant light above the vanity. Look for fixtures with frosted glass shades and geometric metal arms.
If you cannot rewire, use plug in sconces with a decorative cord. Place one near the shower entrance. The warm light from a vintage style bulb (Edison or globe) will make your tile colors glow. Hardware stores sell bulbs with a color temperature around 2700K, which is perfect for a cozy, glamorous bathroom.
Step 6: Use Grout Color as a Design Tool
Most people overlook grout, but in a 1920s tile design, it is crucial. White grout with black tiles creates high contrast, very Gatsby. Dark grout with white tiles softens the look while still maintaining a strong grid pattern.
For a unique twist, use a matching grout color for your main field tiles and a contrasting grout for a decorative band. This trick adds visual interest without buying expensive specialty tiles. Just be sure to seal your grout well, especially in the shower. I use a color matched epoxy grout for wet areas because it resists staining and stays clean longer.
Step 7: Add Finishing Touches That Pull the Room Together
Once your tiles are in, the details matter. Install a black or brass shower curtain rod. Use a fabric shower curtain with a geometric print, or stick with a crisp white linen to let the tile shine. Add a small stool or shelf for soaps, and choose a vintage style shower caddy that hooks over the head.
Do not forget the floor mat. A soft black or dark gray bath mat fits the scheme better than a bright white one. And if you have a window in the shower, use a frosted film in a deco pattern instead of a curtain. It gives privacy while echoing the era.
Ren
Leave a Comment